No-fail Play-Dough Recipe (easy and safe to involve kids in preparation)
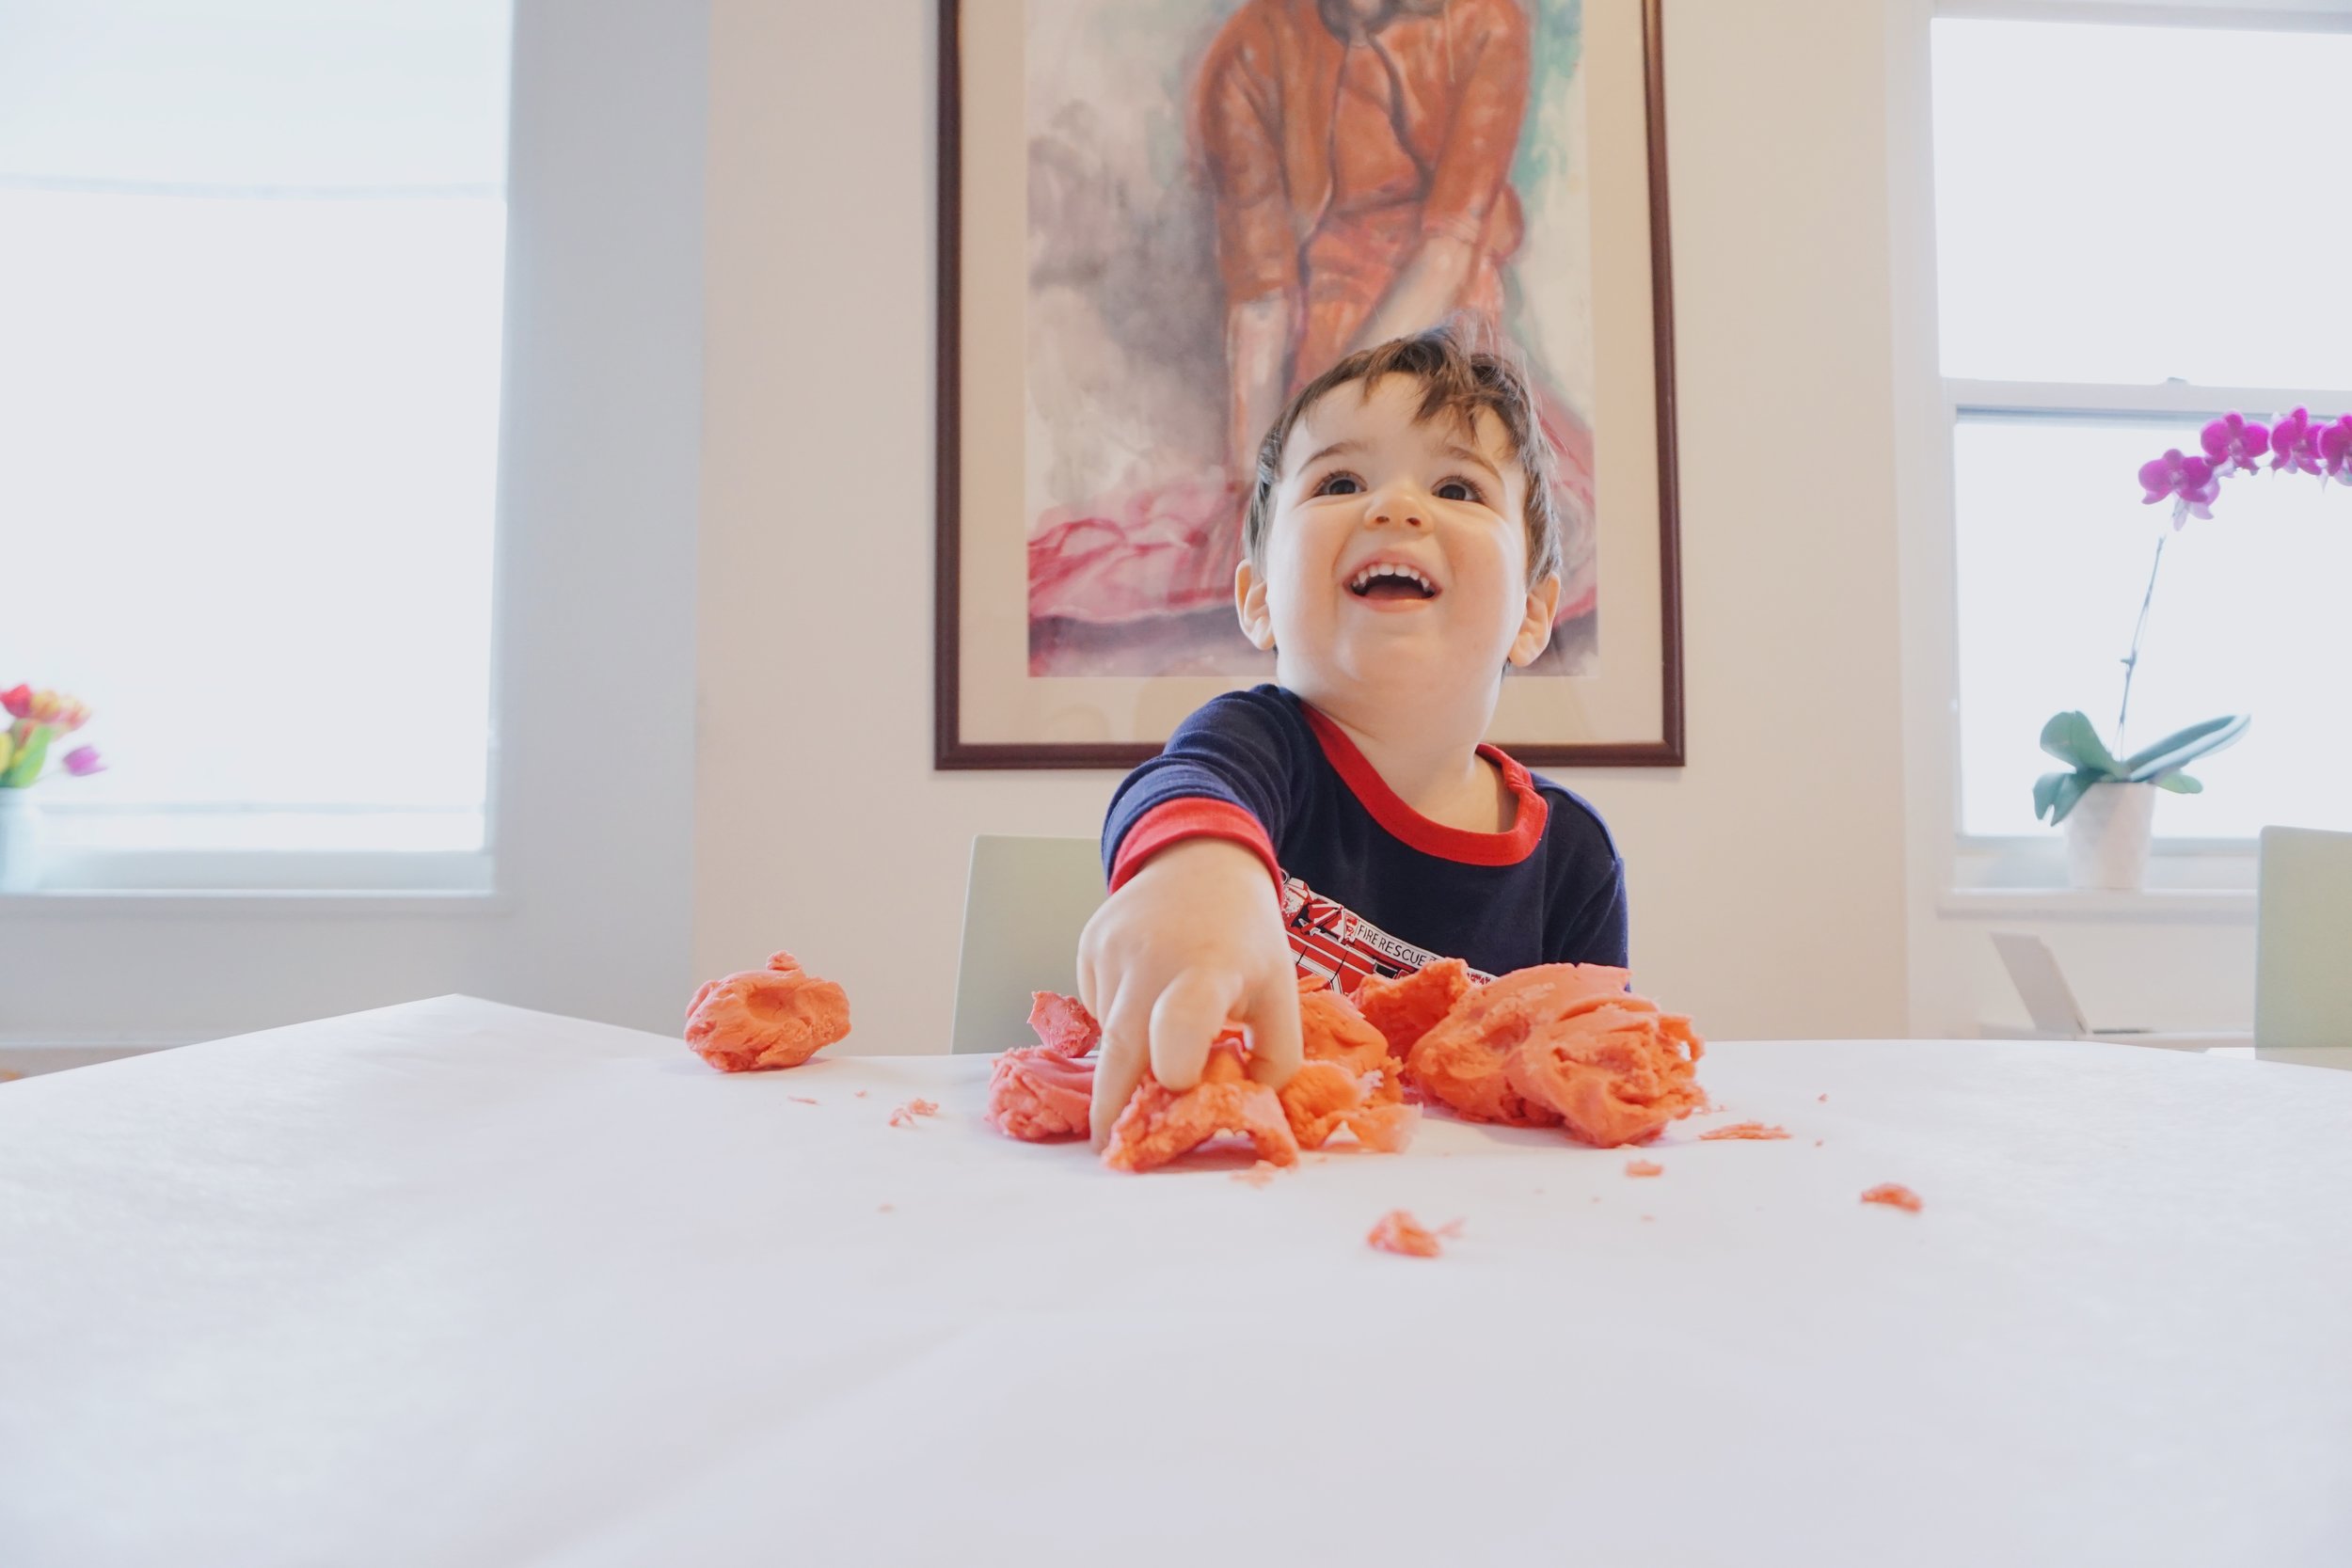
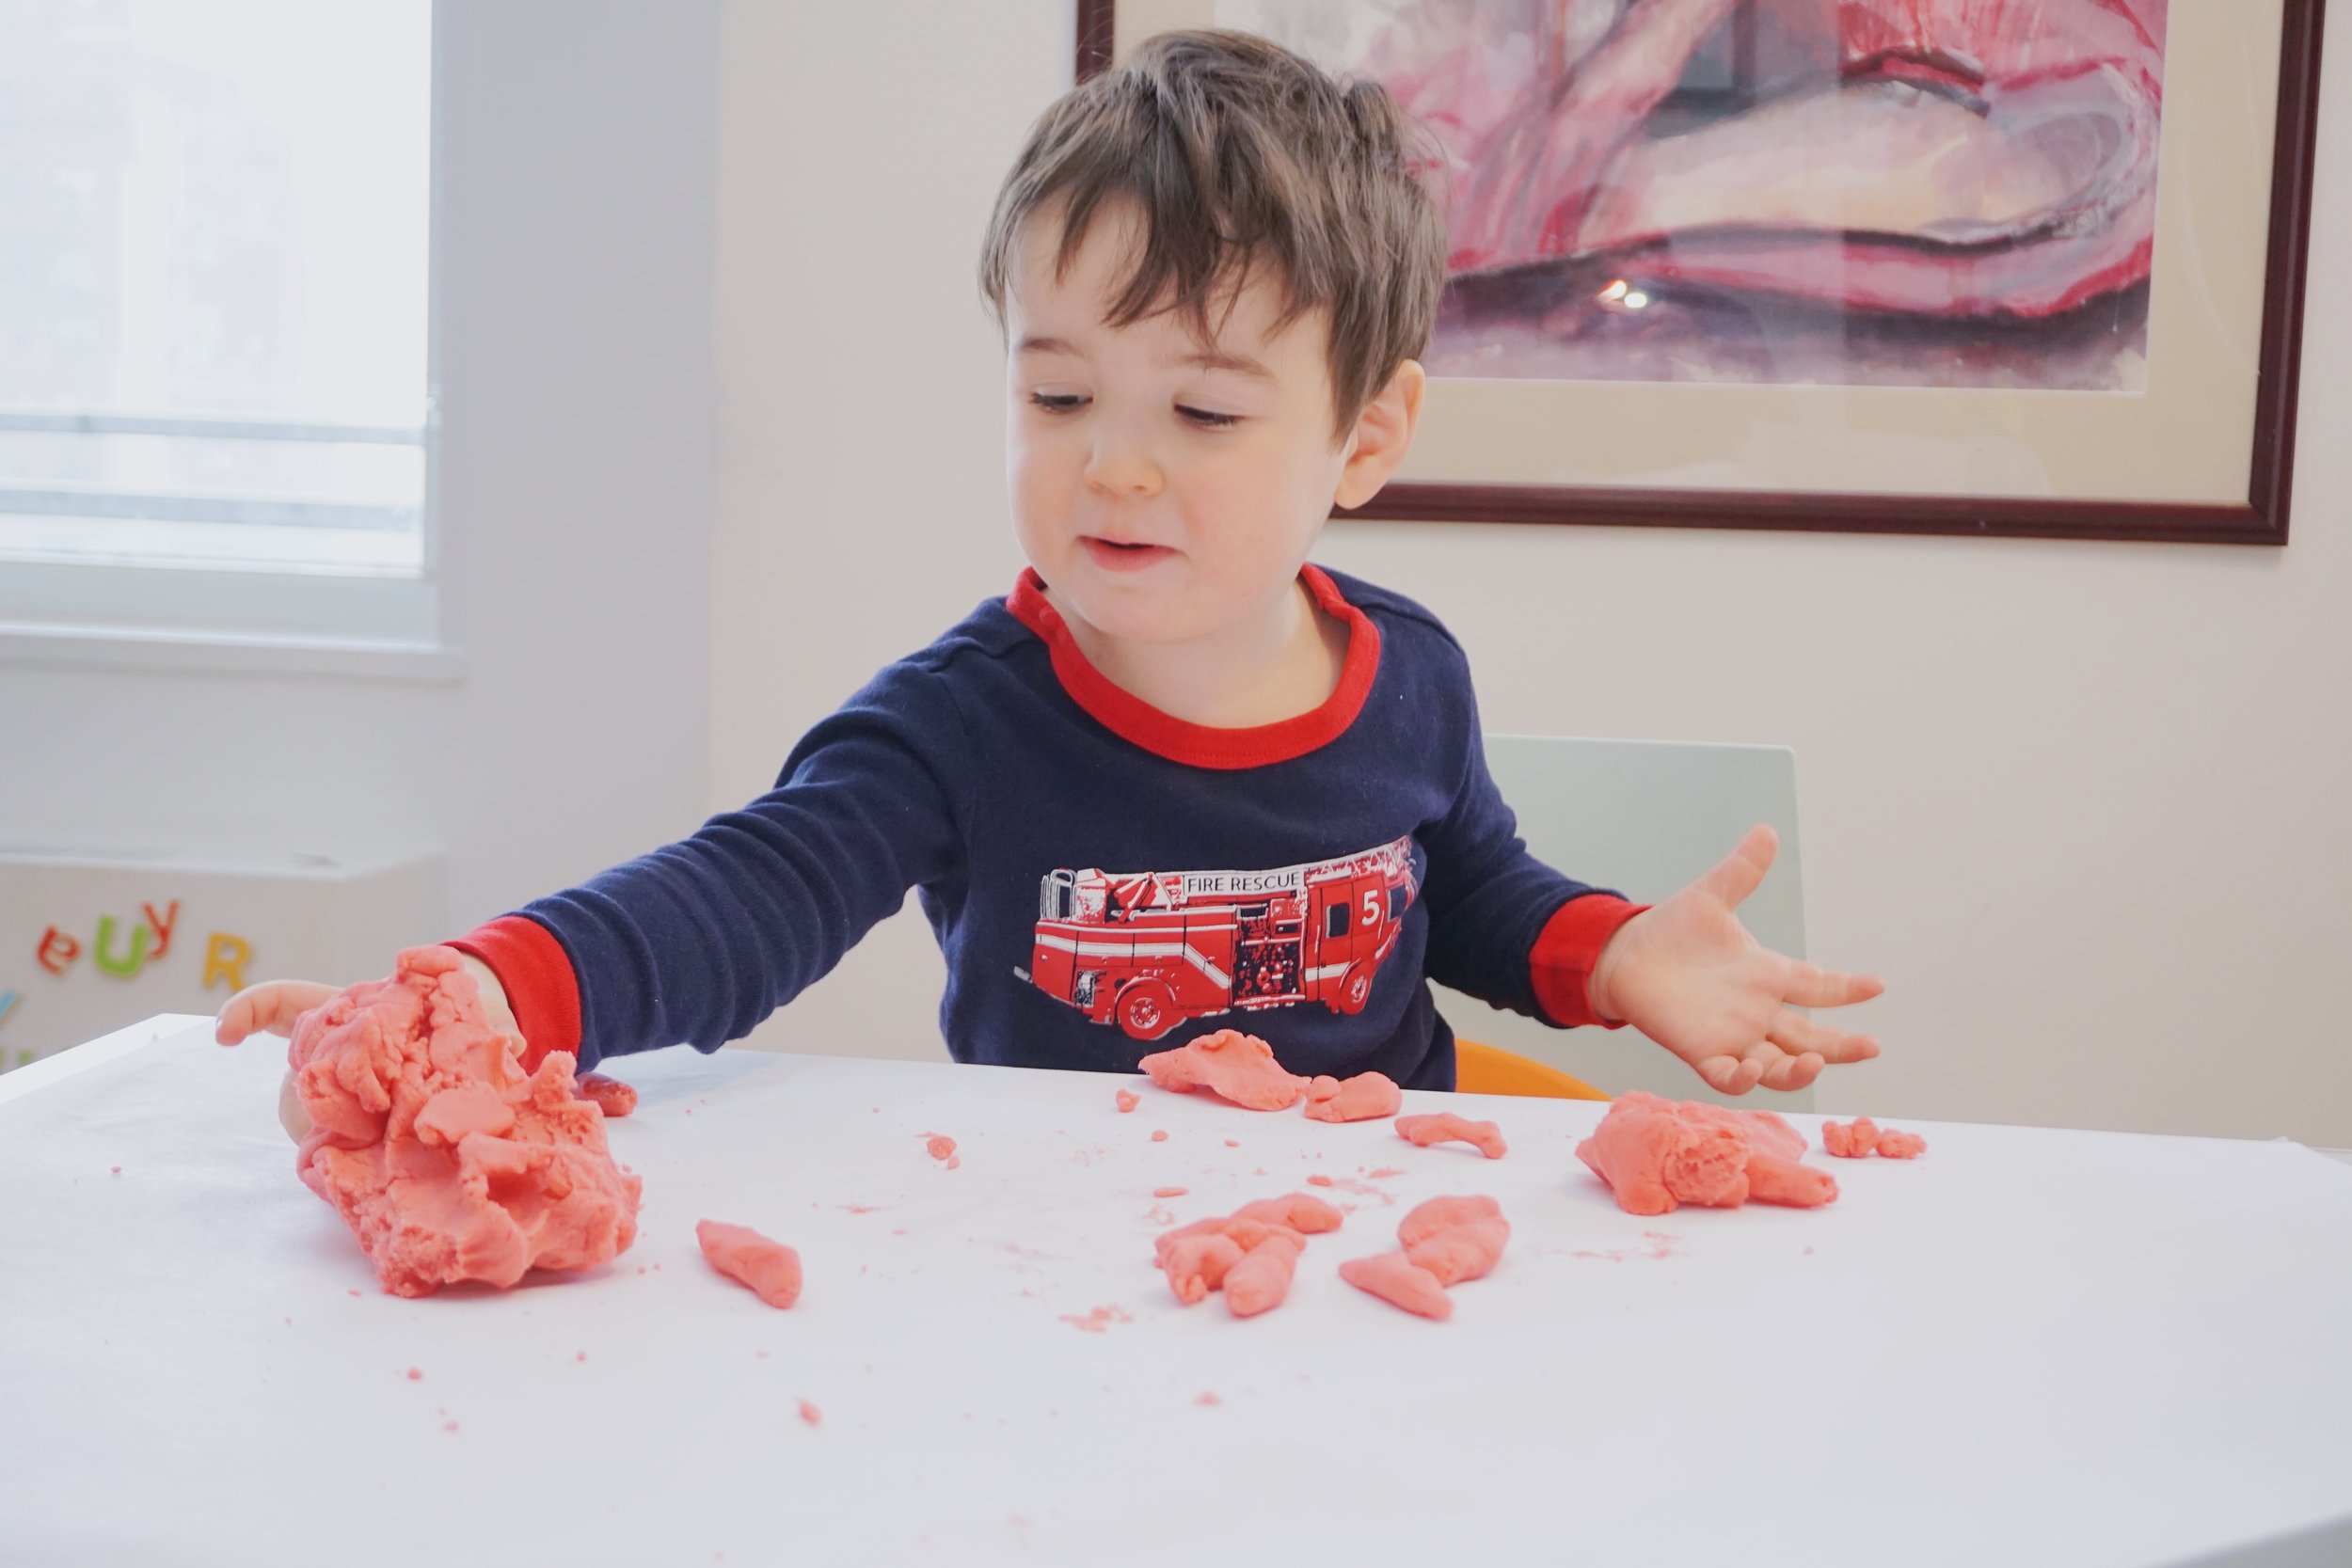
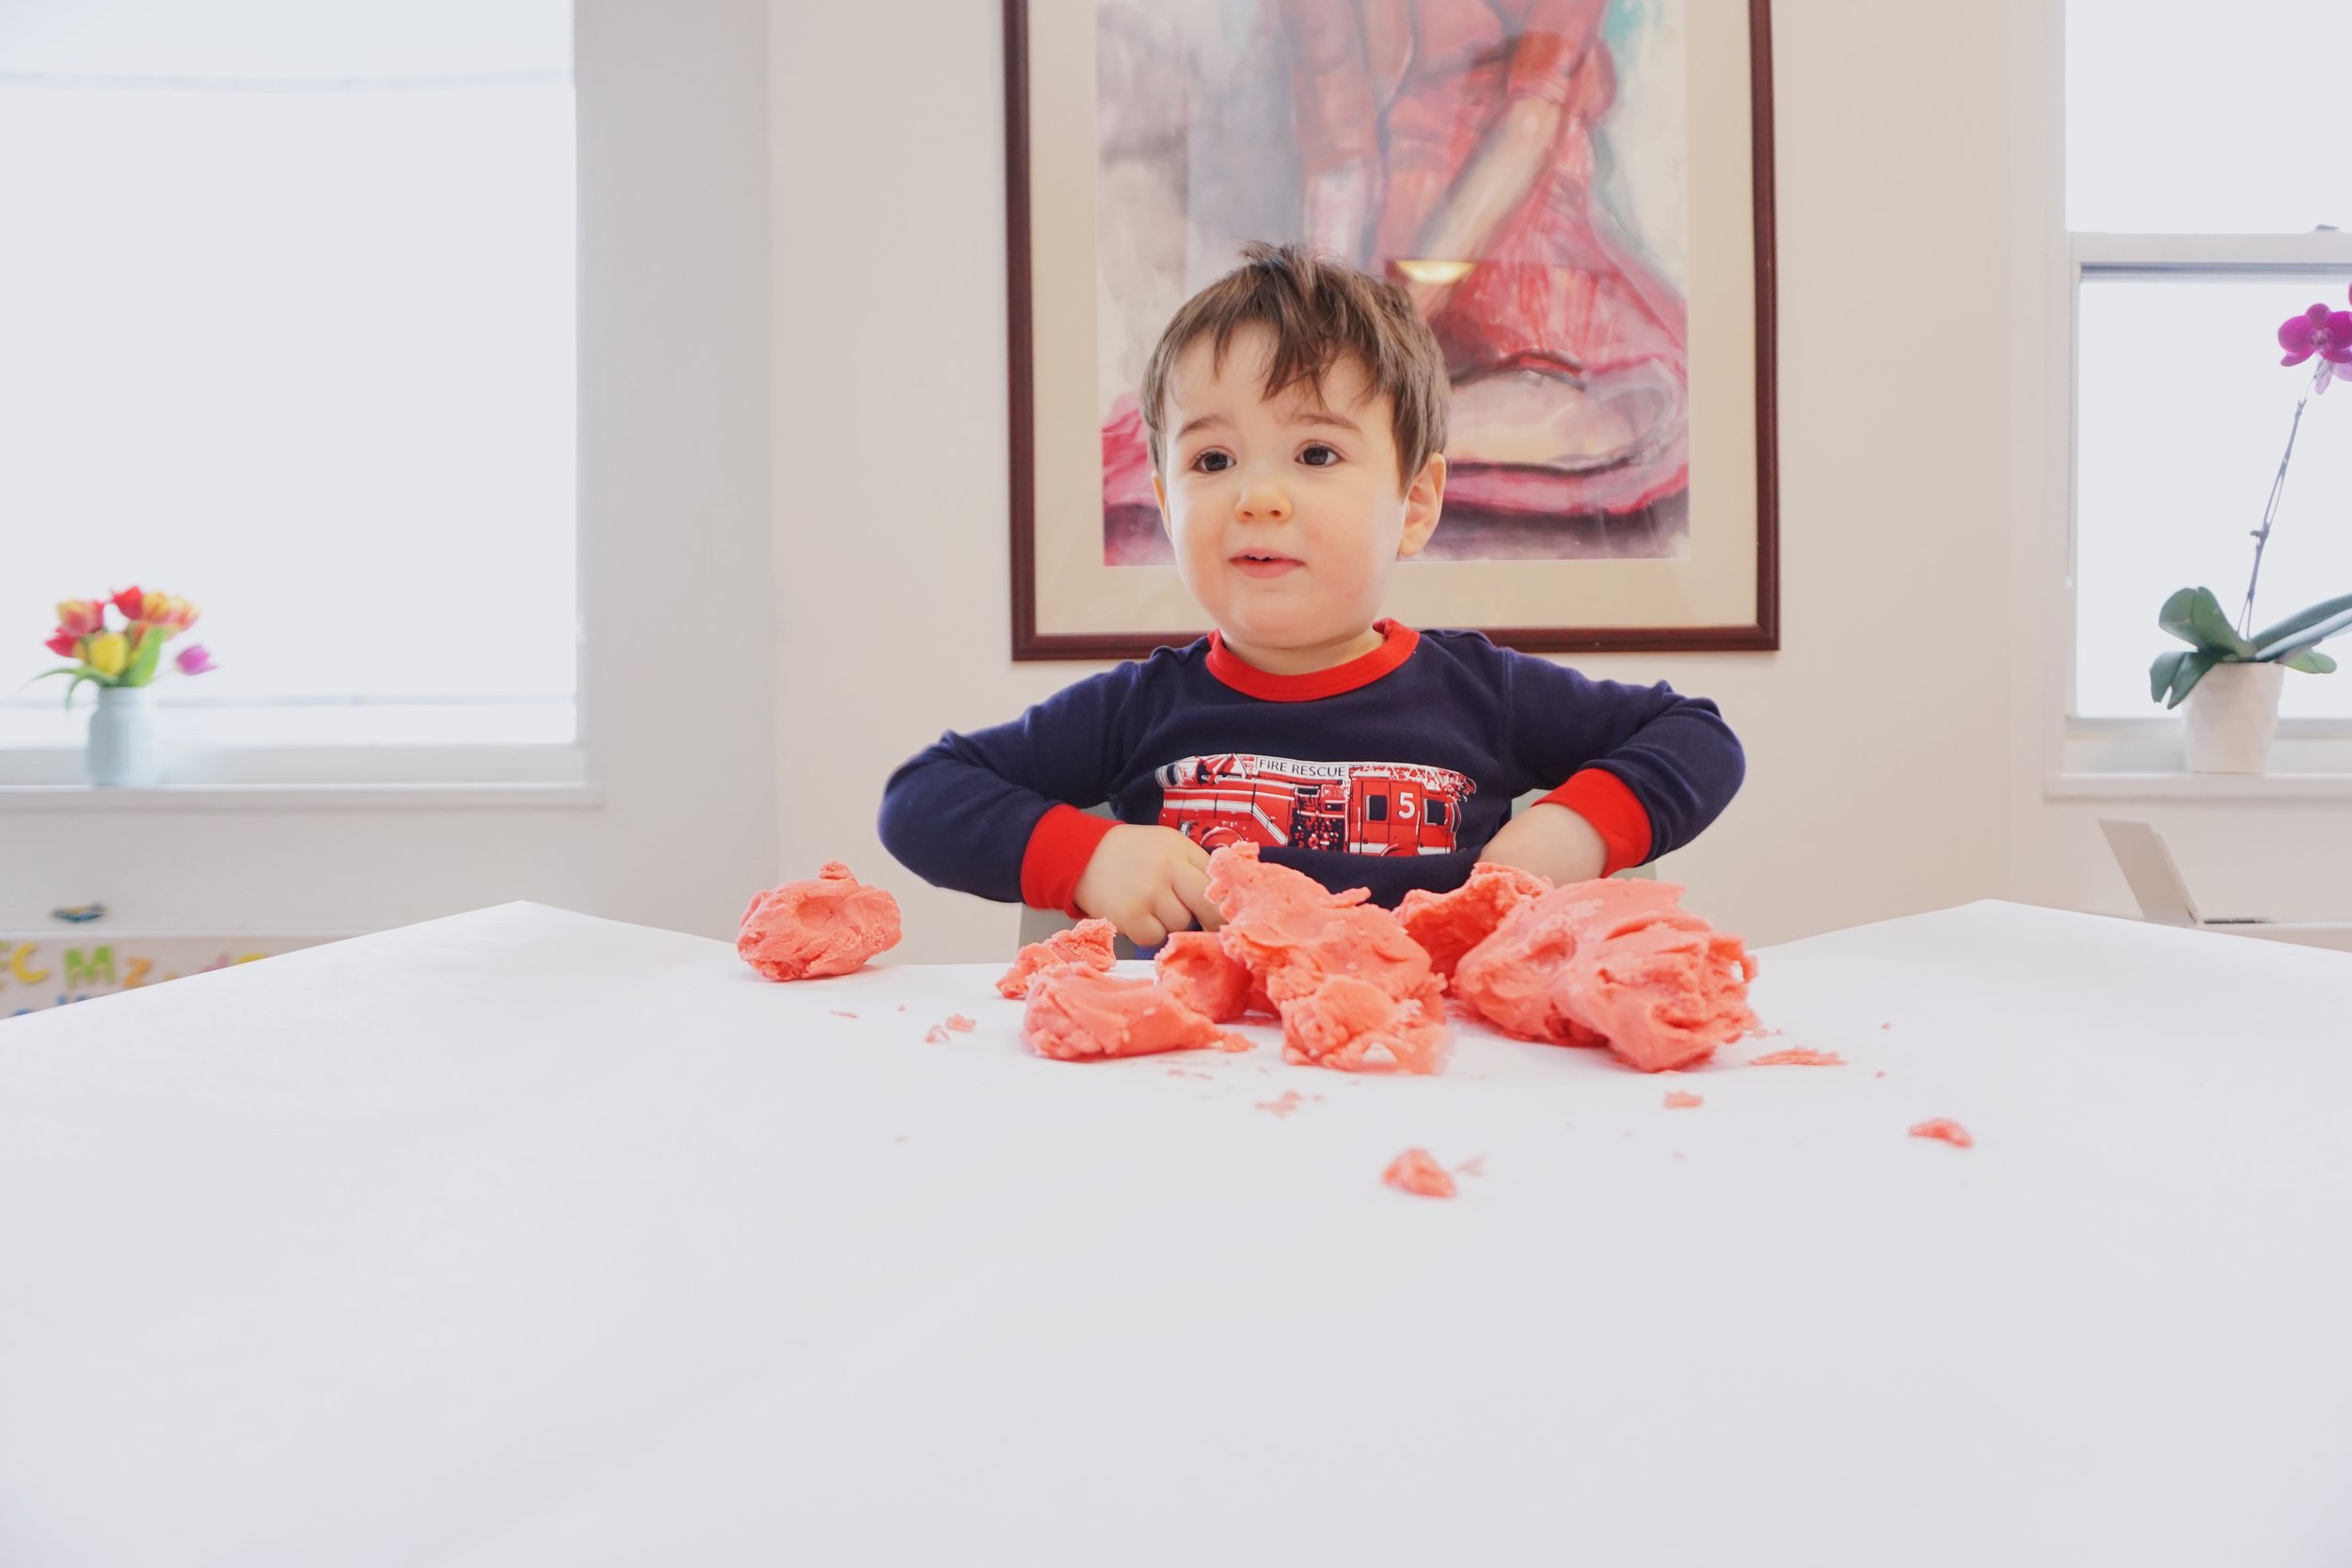
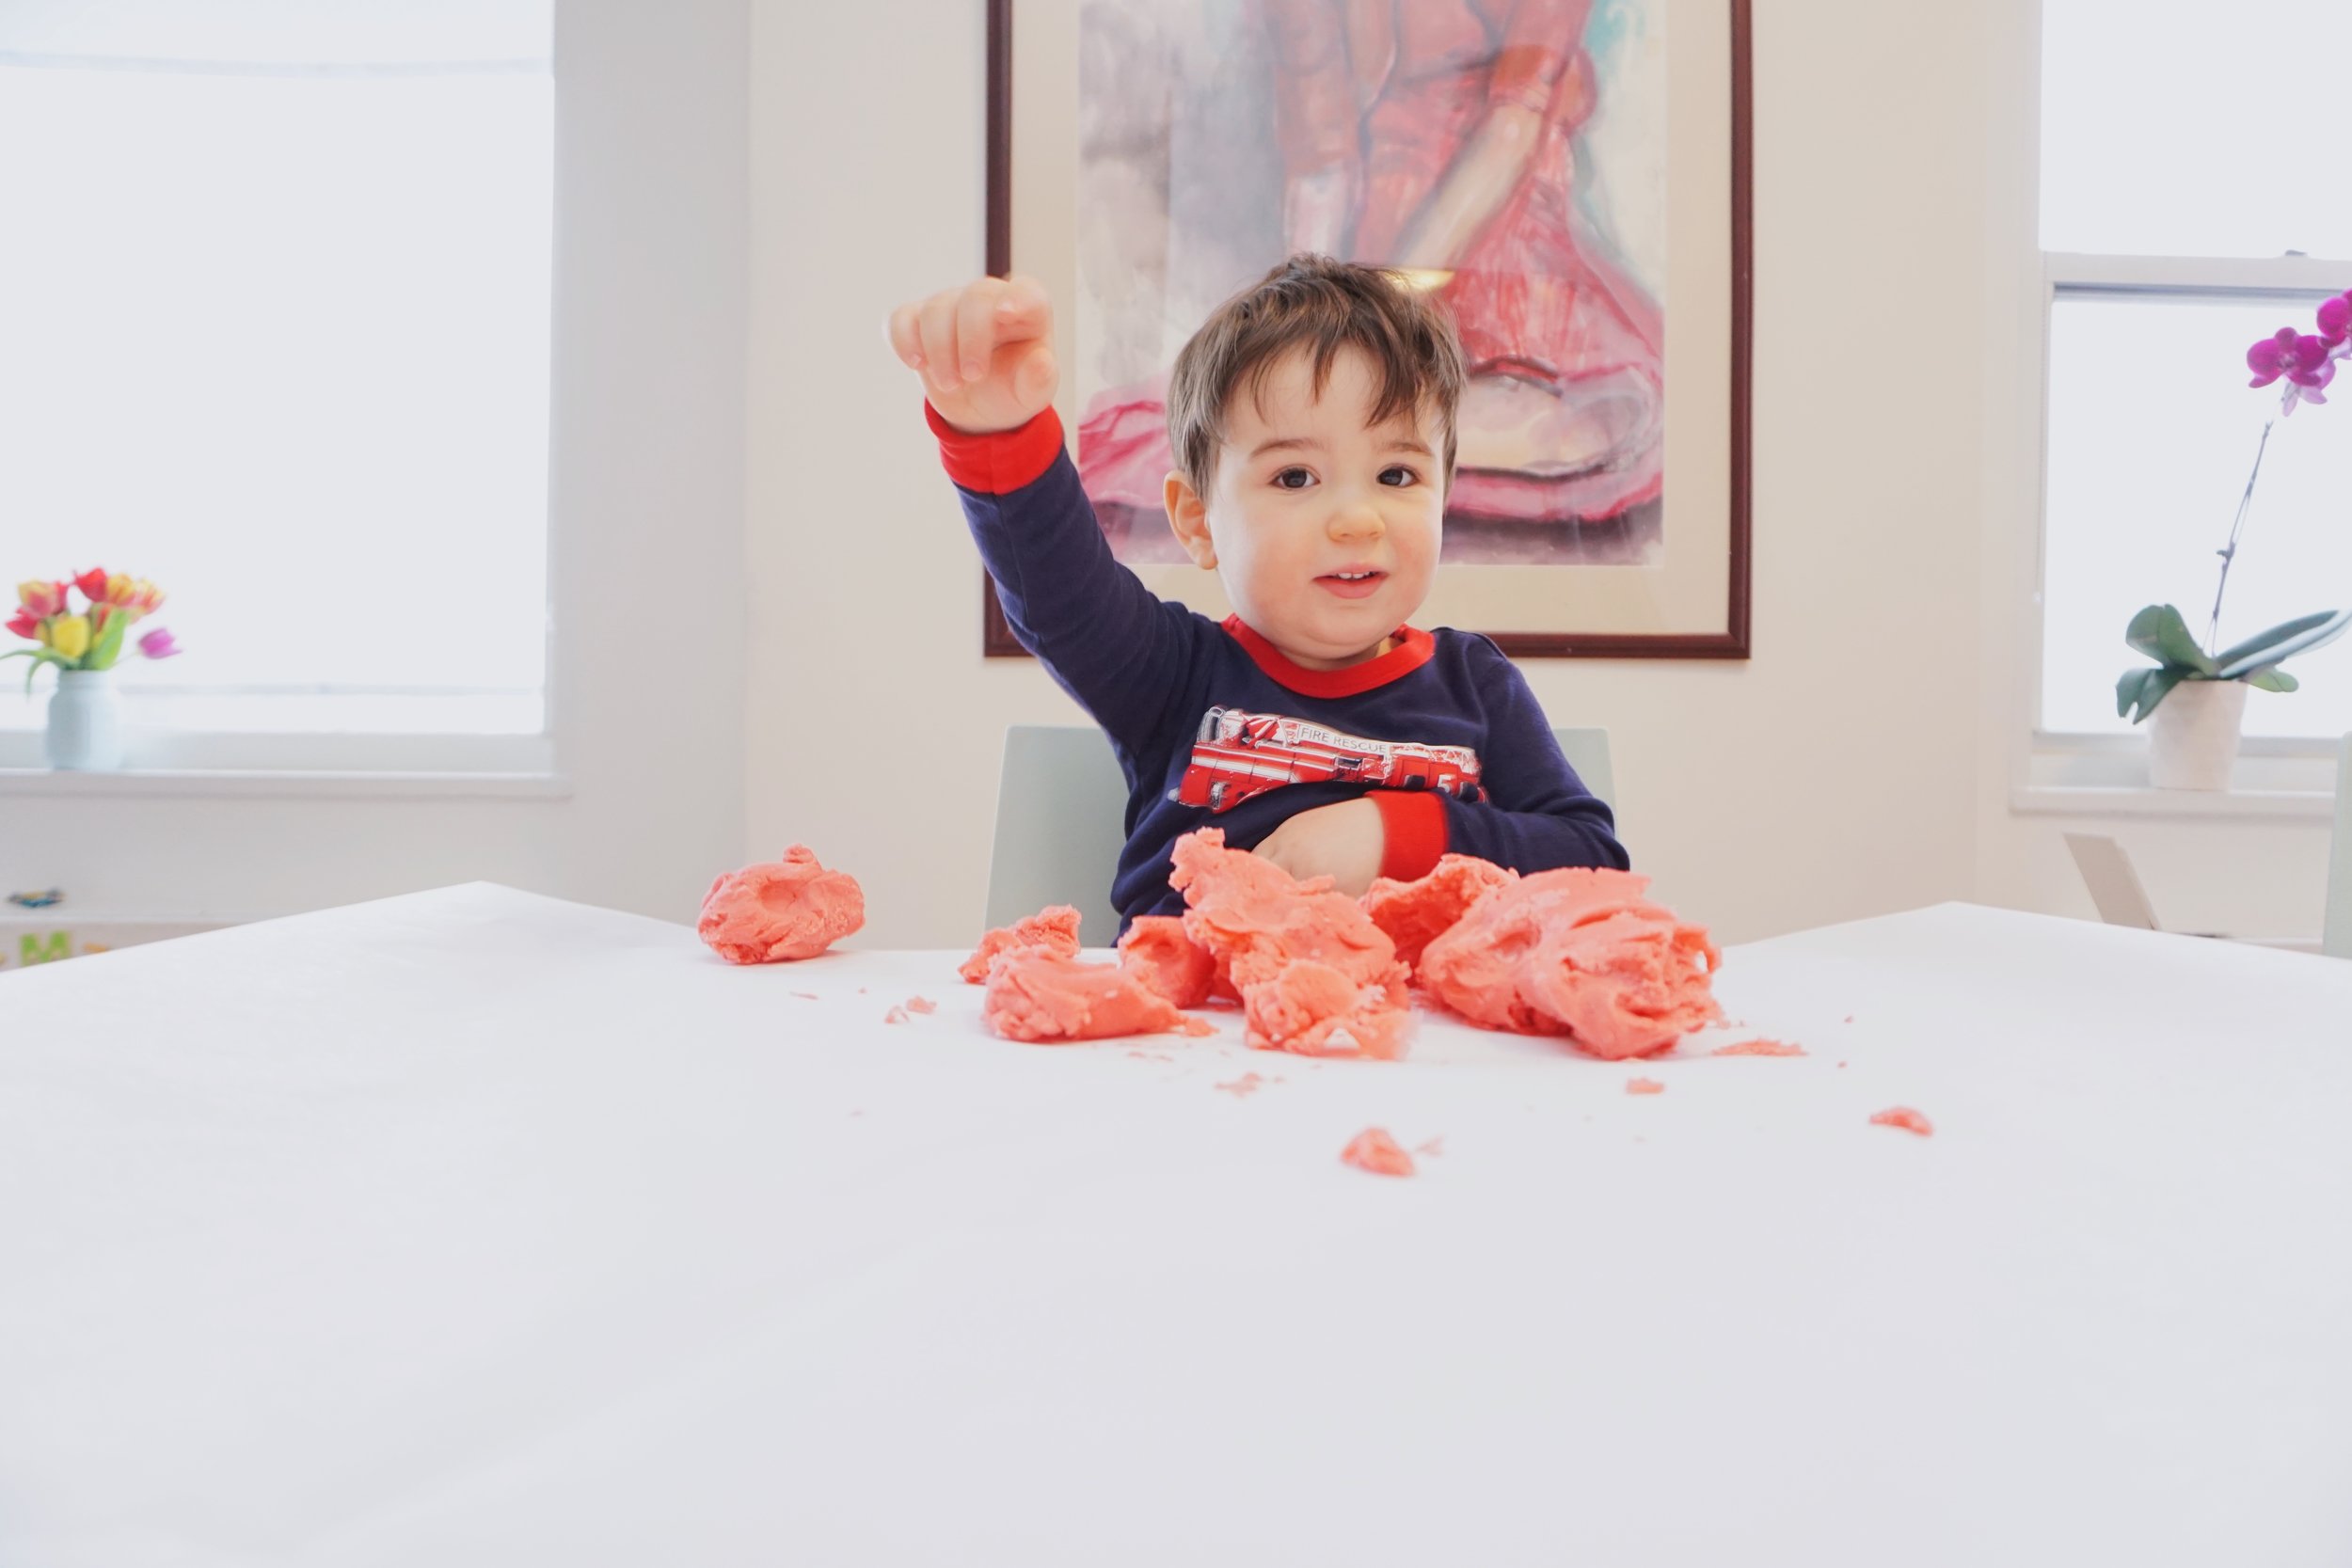
/In anticipation of the blizzard that was supposed to happen yesterday, I polled my Instagram followers for ideas to keep my toddler occupied indoors during the snowstorm. Ideas ranged from bringing snow inside for a sensory activity, to crafting, to making play-dough. My son loves play-dough so I was excited to give it a try! Below is a recipe in which you can safely involve your kids (they can help mix all the ingredients until it is time to stir over the stove at the end). Plus it is super easy -- within 10 minutes we were playing with our play-dough!
This post contains affiliate links and I will be compensated if you make a purchase after clicking on my links. This recipe was adapted from www.playdoughrecipe.com.
Please read entire recipe and my tips below before beginning!
Ingredients
- 1 cup of flour
- 1/2 cup of salt
- 2 Tablespoons of cream of tartar
- 1 tablespoon of canola or other oil
- 1 cup of water
- Food coloring (be liberal with the food coloring for a deep color, I used 20 drops of red and mine turned out a deep pink)
Instructions
Mix the flour, salt, and cream of tartar in a medium pot.
- Add in the oil.
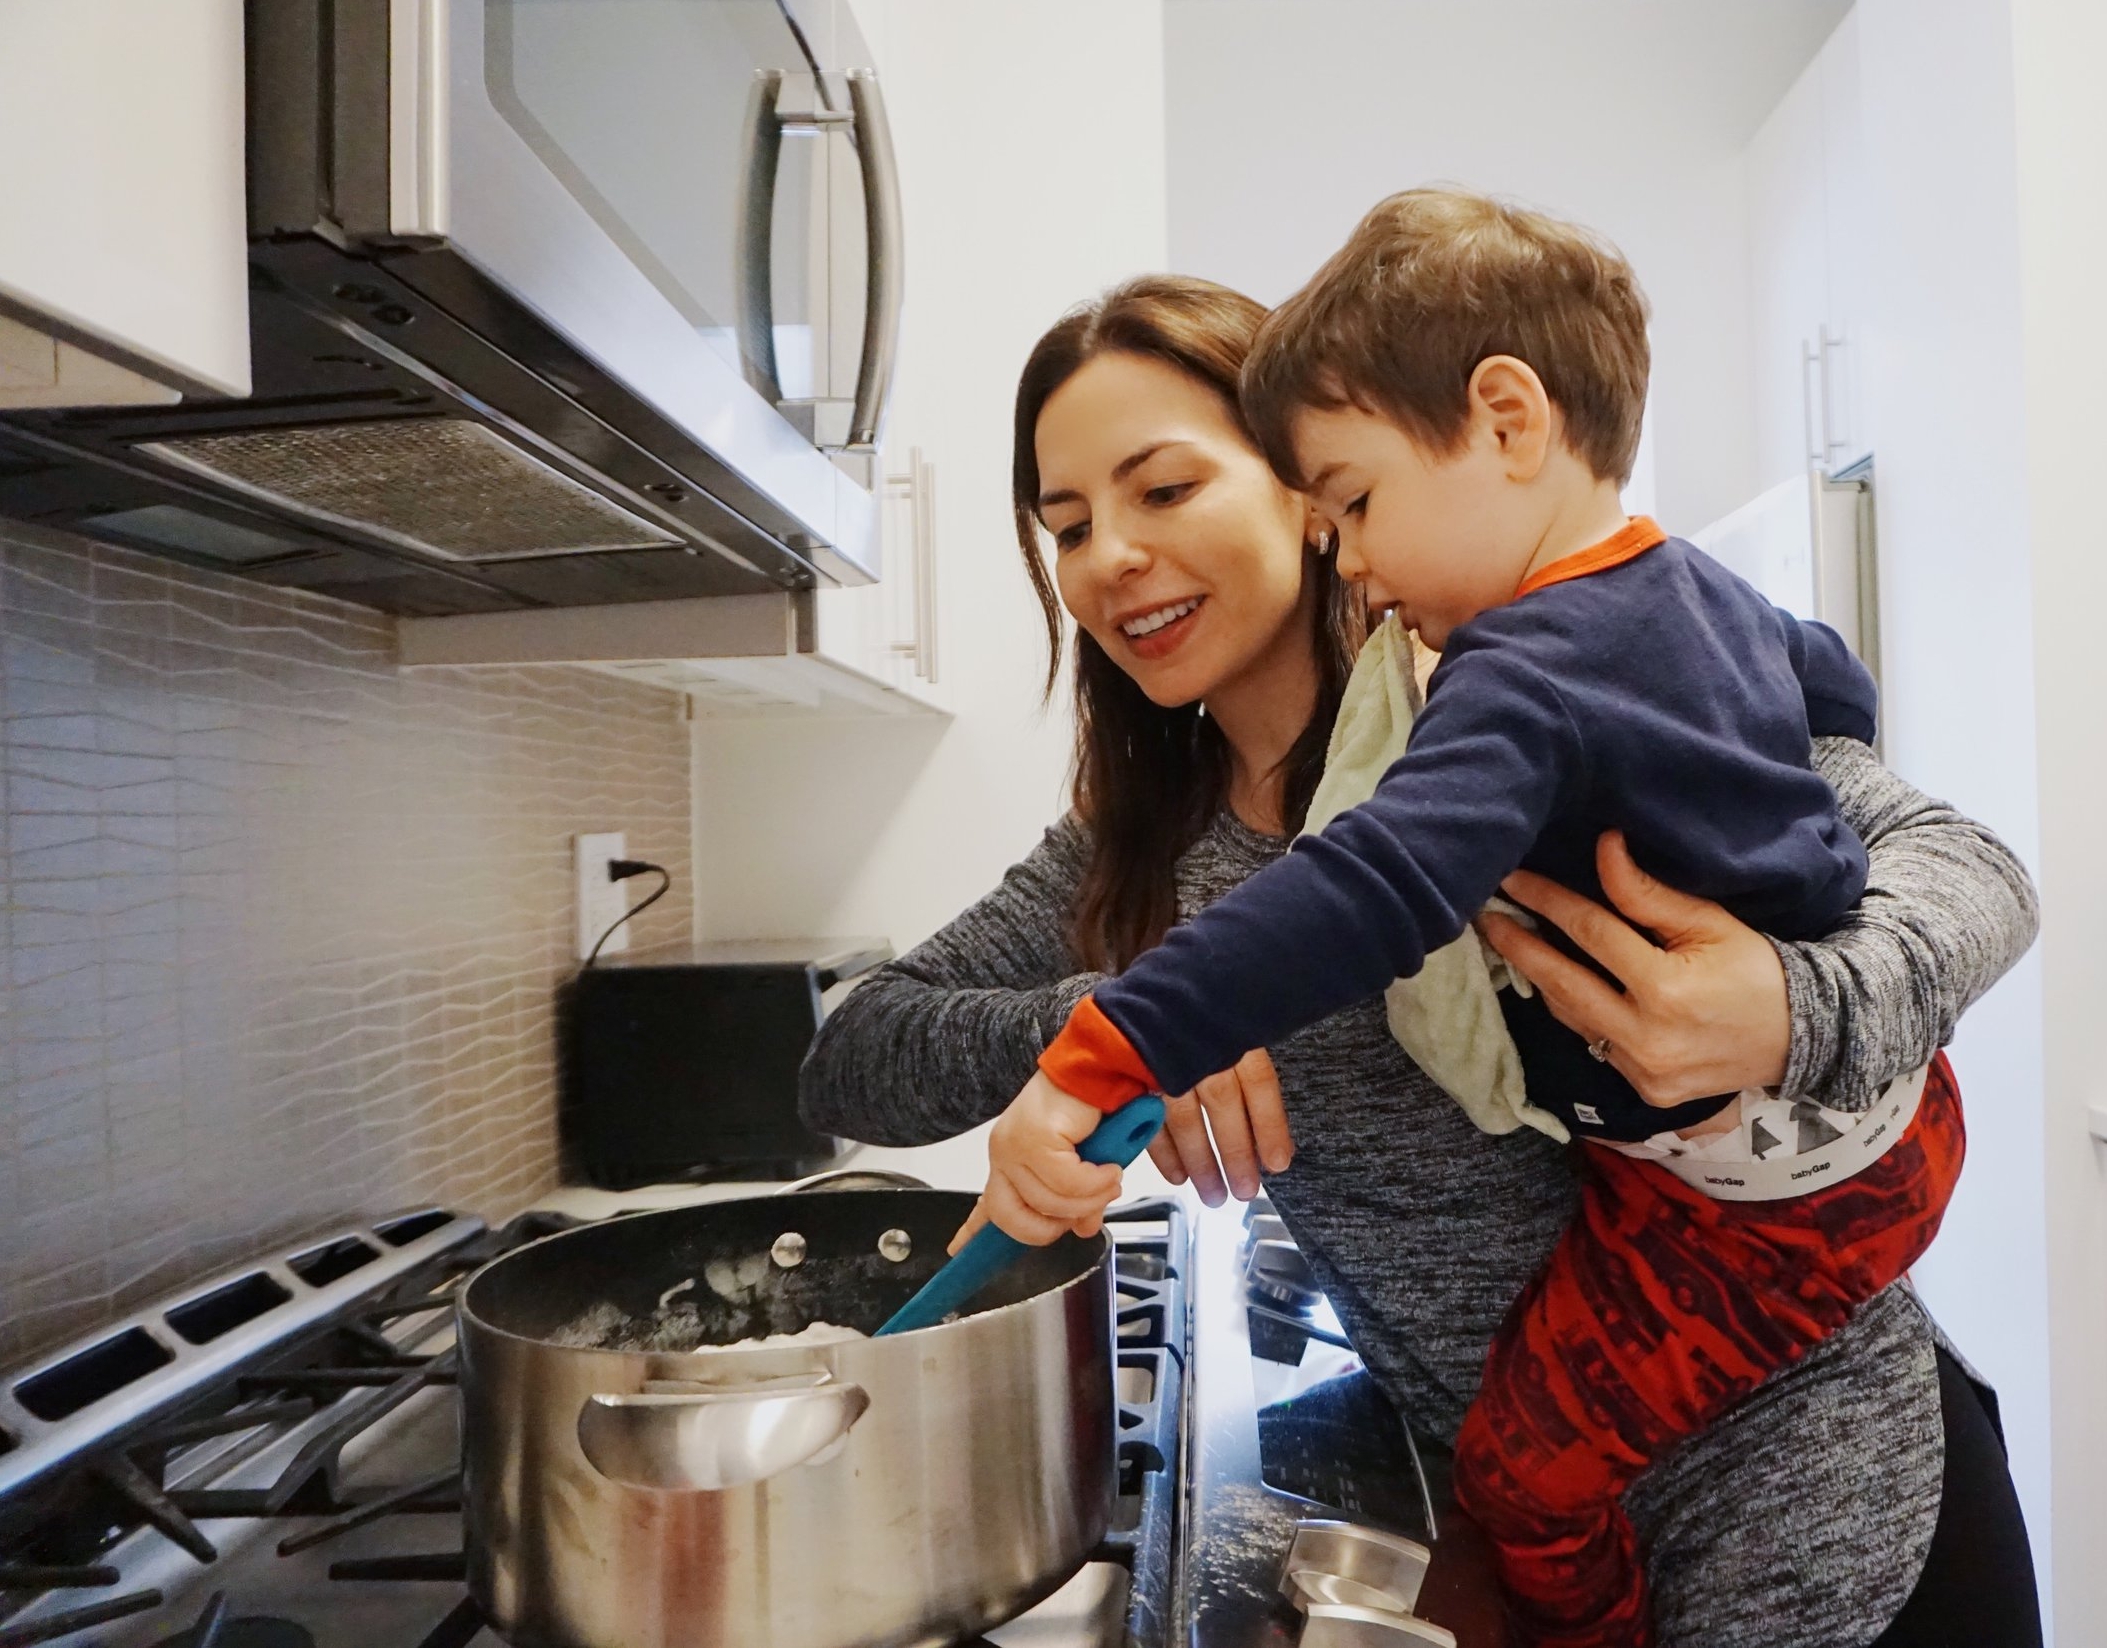
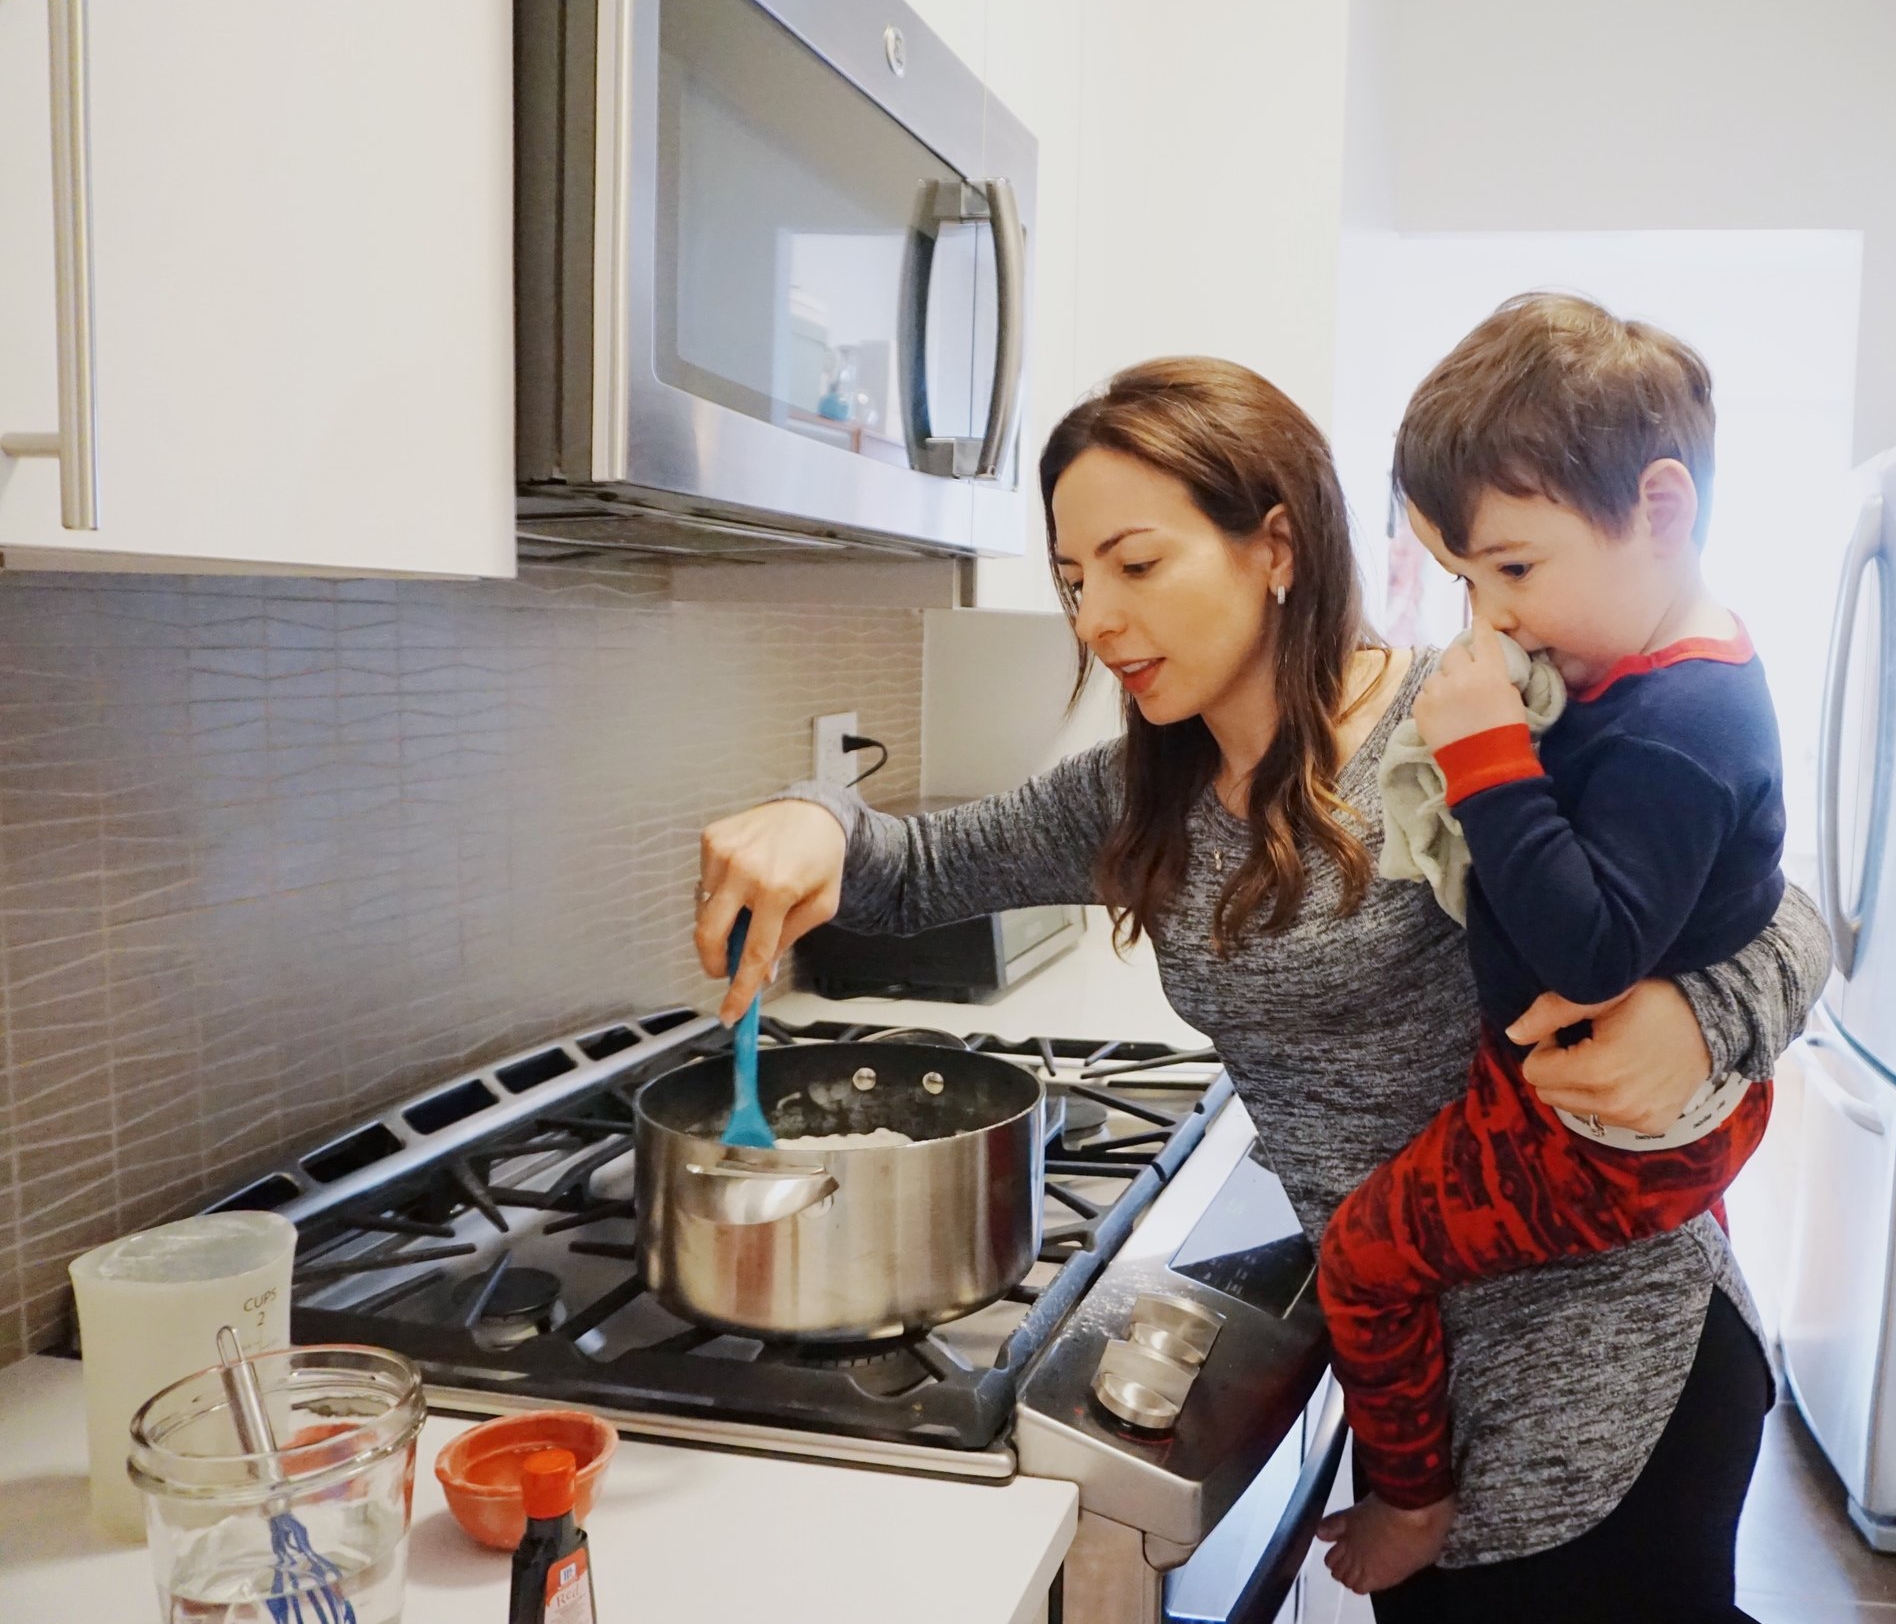
- Stir well (I used a silicone mixing spoon to scrape the pot easily without scratching it).
- In a separate bowl, mix the water with food coloring. Note: food coloring can stain ceramics and silicone, so I recommend using a glass bowl or mason jar.
- Stir entire mixture.
- Cook on medium heat for 4-5 minutes, while stirring constantly until desired doughy texture is achieved.
- Remove pot from heat and transfer dough to a bowl or onto table.
- If the mixture does not seem to be fully incorporated or the right texture, knead for another minute (the dough will be HOT, so mind your hands). I skipped this step.
Note that the mixture may be somewhat clumpy in steps 2-5, but it should smooth out once you stir it with heat.
Some tips
I pre-measured all ingredients besides the food coloring and then involved my two year old in the pouring and stirring. I also let him choose the color. If your child is slightly older or you have more time on your hands, you might involve them in measuring too.
I recommend laying craft paper over your table before step #8 (and for playing with the play-dough) to make clean up easier. I use this paper all the time to cover my son's toddler table for messy projects, or just for him to color on or make signs.
I stored the recipe in a glass jar.
Enjoy!
Tools?
My son loves playing with play-dough, but we haven't incorporated tools yet. What are your favorite play-dough tools?
Join our Facebook community and follow along on Instagram for lots of kid-friendly ideas!
